


Lighting! It’s one of the biggest struggles in food and product photography and THE most talked-about topic on the Replica Facebook VIP group (which you can join here).
In this how-to we’re talking alllll about how to master natural window light to create gorgeous indoor photos. And we're getting specific!
Want to watch this same how-to in YouTube form?
Ah you're a reader, I see. Let's get to it then!
Before we jump into how to set up your scene, we need to chat about hard and soft light sources. Understanding your light source will help you understand different types of shadows and make adjustments if you aren't getting the look you want.
Hard vs. soft light
A hard light source creates crisp shadows with a sharp transition between the shadow and its background. Put another way, you could easily trace the border of a hard shadow with a pencil. Soft light sources, on the other hand, create shadows with a gradual transition between the shadow and the background. Soft shadows blend smoothly into the background making it difficult to tell where the shadow ends and the background begins.
Hard shadows created by a hard light source.


Soft shadows created by a soft light source.


So what determines whether a light source is soft or hard? Small light sources (like a flashlight or a camera flash) create hard light (and therefore hard shadows) while large sources (like a big window) create soft light because they disperse the light over a greater area.
Small light source = hard light
Large light source = soft light
Distance also comes into play. Distant light sources create harder shadows while close sources create softer ones. To achieve soft shadows using natural light, place your photo setup right next to the window. To create harder shadows, move the setup to the opposite side of the room.
Distant light source = hard light
Close light source = soft light
Based on the principle of size, you'd expect the sun (does it get much larger than the sun?) to create soft shadows. But on bright, cloudless days the sun actually creates hard shadows because it’s so far away. On cloudy days, however, you’ll end up with soft shadows from the same sun. This is because the clouds act like a diffuser, spreading the light out over an even larger area. This is why professional photographers adore cloudy days when they’re trying to achieve soft, even lighting.
Clouds aren’t the only diffusers. Softboxes (a great artificial lighting option we’ll discuss in a future how-to) and white sheets (the soft box’s DIY counterpart) also make excellent diffusers. Light can be further softened with a reflector, which reduces (and can even eliminate) shadows. We’ll talk more about diffusers and reflectors below!
Neither type of shadow is good or bad, it just depends on the look you're trying to achieve. Right now, hard, dramatic shadows are having a serious moment! So consider embracing that hard light - you might love the result.
Natural lighting: getting down to specifics
Natural light is a natural choice because it’s free and most of us have access to a window. Unfortunately, the “natural” part of natural lighting also means we can’t control the light like we can with an artificial lighting set up. So we’re going to talk about what we CAN control: window direction, light direction, optimal times of day, diffusers, reflectors, and editing. And no, editing isn’t cheating - it’s essential for achieving your best bright photos.
Window direction
Think about the windows in your home. Which direction do they face? The sun rises in the east and sets in the west, meaning that east or west-facing windows get direct light at different times of the day. An east- or west-facing window on a bright, cloudless day will therefore act as a hard light source and create hard shadows.
Conversely, a north- or south-facing window never gets direct sunlight so the light is intrinsically softer (and so are the shadows it creates).
Diffusers
If your only window options are east- or west-facing and you want to create soft shadows, try hanging a thin white sheet over the window. Voila! A DIY diffuser. If you shoot frequently, you may want to invest in permanent translucent white curtains instead of hanging a sheet every time. I mean, who doesn’t love photo equipment that doubles as attractive decor?

Light direction
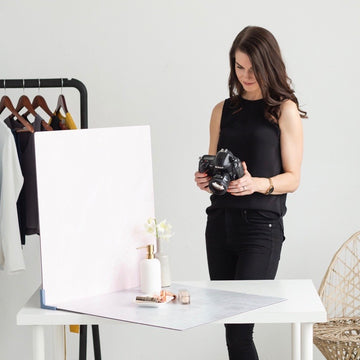
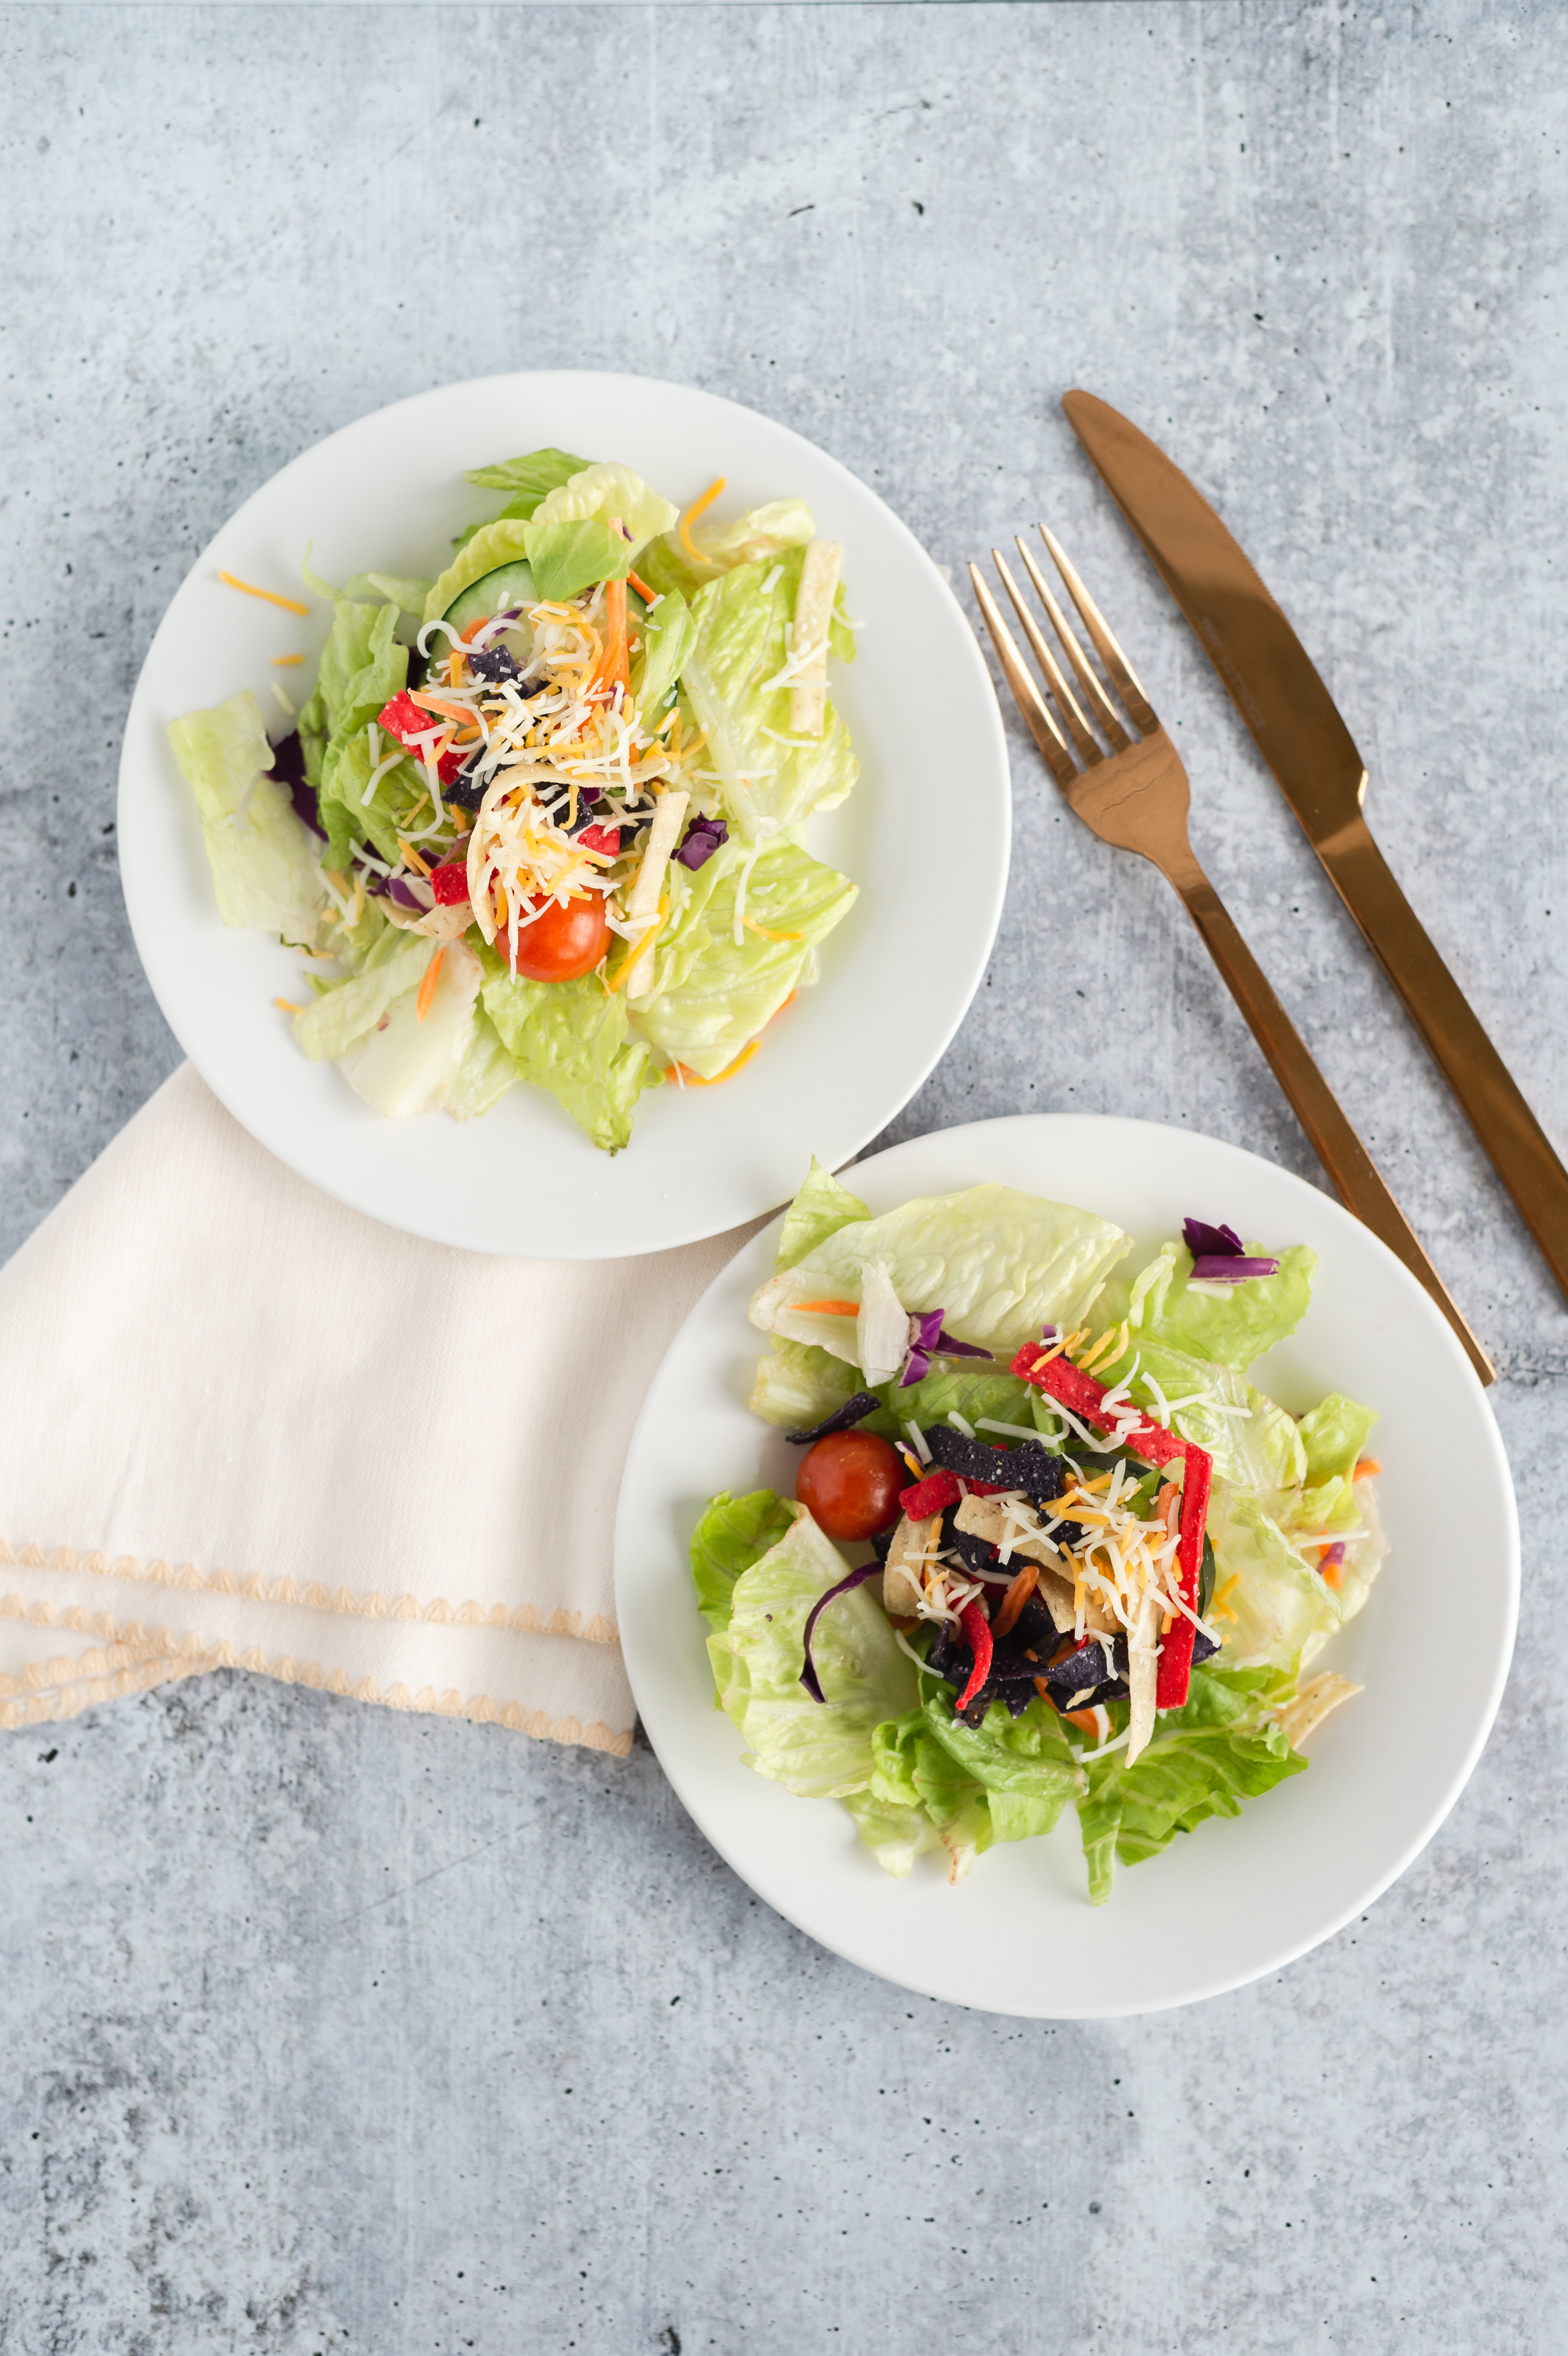
When it comes to food and product photography, side lighting (aka placing your setup so that the window is on the right or left side) is usually your best bet since it allows you to use a two-backdrop setup. Side lighting also lets you use a reflector, which is a key piece of equipment if you’re trying to avoid shadows. Here, the window is along the right side of the setup and a white reflector is placed opposite the window.
Whether you choose to put the window on the right or left will depend on the objects you're photographing and where you want their shadows to land. If your scene includes a tall item on the right and shorter items on the left, you may want to put the window on the left so that shadows land on the right rather than on the right where they may obscure the shorter items. Replica Surfaces make it super easy to swivel your entire setup and see which side you prefer the shadows to land on.
Reflectors
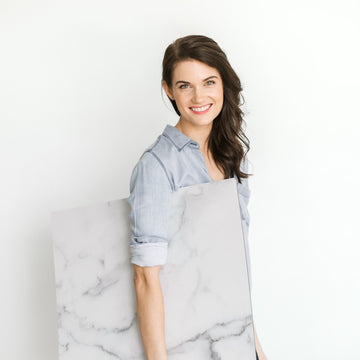
If you want to create even light across your scene (and thereby decrease shadows), place a white reflector opposite your light source. In the photo above, we’re using the All-White Replica Surface as a reflector. It isn’t attached to anything, it’s just leaned against the other two Surfaces. If you don't have the All-White Surface (or are using it in your shot), a piece of white poster board or a trifold poster board work just as well. Trifold poster boards are great because they stand up on their own and can be found at most craft stores.
The same photo taken without a reflector (top) and with a reflector (bottom). The shadows from each plate are more apparent in the photo without a reflector and nearly gone in the photo taken using a reflector. Since the shadows are along the left side of the plate, you know that the window was on the right.

Time of Day
The best time of day to shoot completely depends on your window size, your window direction, and the weather. To find the times that are best for you, I highly recommend setting up your “studio” (aka a table with backdrops on it) next to a window like we did in the pull back shot above. Then take a photo every hour between 8 am-ish and 5 pm-ish. Notice how the light, shadows, and overall color change throughout the day - which ones do you prefer? THAT's the best time of day for you!
Editing
Editing is key to making your photos look their best. But it can be intimidating when you’re new to it! That's why I created this YouTube video devoted to editing basics! I’m walking you through exactly how to edit food and product photos in both the mobile and desktop versions of Adobe Lightroom, including where I place those little sliders and why.
Light adjustments, Color adjustments, how to combat uneven lighting across dark backdrops (which our eyes perceive as "glare"), and how to remove the blue tone from white objects/backdrops - we’re covering it all!
The Complete Setup
- Place a table directly beside your window for soft light with soft shadows. Place the table a few feet away from the window for dramatic light with hard shadows. Either way, the window should be along the left or right side of the table (like it is in the photo above). Shadows will appear on the side opposite your light source so think about whether you want them to land on the left or right side of your scene.
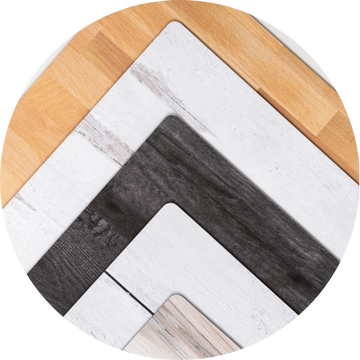
- Set up your backdrops. Use a single backdrop for flat lay (aka overhead) photos or two backdrops (one positioned vertically and one positioned horizontally) for eye level or 45 degree angle photos. If you're using two Replica Surfaces, Replica Stands make this part ridiculously easy. As a side note: stay tuned for a future how-to all about optimal photo angles!
- Style your scene. Place your main props toward the center of your backdrop to create depth. We talk alllll about how to create depth here.
- Take a photo and see what you think. Try flipping your setup so the window is along the opposite side. Which do you prefer?
- Want to further reduce shadows? Place a white reflector opposite your light source. You can use the All-White Replica Surface (if you have it), a piece of regular white poster board, or a white trifold poster board as a reflector. For dramatic light with hard shadows, omit the reflector.
- Shoot! Click here to learn the DSLR camera and camera phone settings that create depth in your photos.
- Edit.
- Post and let the compliments roll in!
And that's a wrap! Comment below and let a girl know what you think of this how-to!
Oh and if you try everything we talked about here and still struggle with natural lighting (it happens), click here to check out my how-to all about artificial lighting. In it, I talk about all my favorite equipment (that won't break the bank) and how to set it up.
Also, I've got way more how-tos coming! Subscribe to emails at the bottom of this page so you don't miss any of THAT goodness! Until then...

Mandy Gleason
Founder of Replica Surfaces, race fan, and salsa connoisseur.

Thank you for the tips! So helpful! I have so many new ideas now about how to get the perfect shots of my product!